Introduction
A tankless water heater is a type of water heater that heats water on demand rather than storing it in a tank. This means there is no need to constantly reheat water that is not being used, which can save energy and money. Tankless water heaters can be either gas or electric, and both have pros and cons. Gas tankless water heaters are generally more expensive to purchase and install, but they are also more energy-efficient in the long run. Electric tankless water heaters are generally cheaper to purchase, but gas tankless water heaters are more energy-efficient.
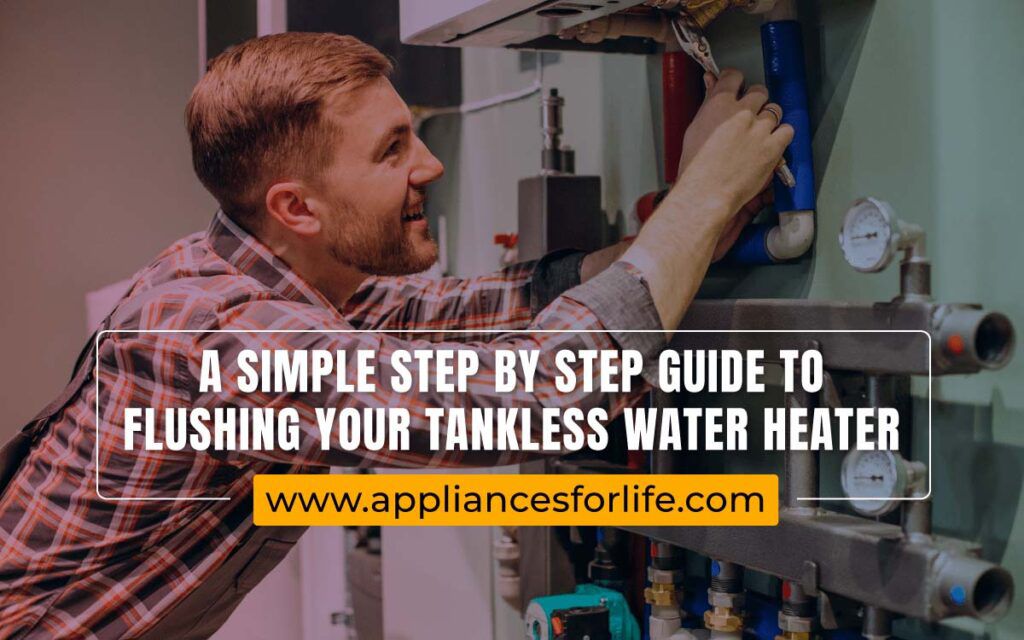
Regular Maintenance is the key to productivity:
Regular maintenance is critical for tankless water heaters to prevent scale buildup, which can lead to a loss of efficiency and eventually damage the unit. Furthermore, if a tankless water heater is not flushed regularly enough, sediment like calcium and other minerals can build up inside the tank over time. While the flushing frequency will vary depending on the quality of your water, it is generally recommended that you flush your tankless water heater once a year. If you have hard water, you may need to flush more often. Flushing a tankless water heater will typically take between 10 and 30 minutes, depending on the size of the tankless unit. Whether you hire a professional or you do the flushing by yourself, flushing your tankless water heater is an activity that should be added to a list of yearly maintenance tasks. This section will address a few important questions about the general maintenance of a tankless water heater and, specifically, flushing same.
Why You Need to Flush Your Tankless Water Heater
Mineral sediment made of calcium and magnesium can build up inside your water heater over time, disrupt efficiency, and reduce lifespan. Mineral buildup can also cause loud, unpleasant noises from the water heater. When you flush a water heater, the cleaning agent helps remove this buildup and restores the machine. Water heaters aren’t cheap, so routine maintenance, like flushing them, will help increase your machine’s longevity.
How to flush a tankless water heater?
Step 1: Turn Off the Isolation Valves and Gas
The first step in flushing a tankless water heater is to turn off the gas and water in the unit. The gas shut-off valve is usually located near the unit, while the water shut-off valve is usually located at the main water supply. Once the gas and water are shut off, it is time to open the isolation valves and begin flushing the unit. The isolation valves are located on the cold and hot water lines that connect to the units of tankless water heaters. While you do the flushing, you may not need to turn off the power to your water heater.
Step 2: Connect the Hoses
Most tankless water heaters come with two hoses – one for the cold water inlet and one for the hot water outlet. You must connect these hoses to a water source to properly flush the unit. The cold water inlet hose should be connected to a cold water faucet, and the hot water outlet hose should be connected to a garden hose. Once both hoses are connected, you must turn on the water sources and allow the water to run through the unit for several minutes.
Step 3: Attach Hoses to the Circulation Pump
Now you need to use the circulation pump that came with your water heater flushing kit. Attach the other end of the inlet hose to the circulation pump and place it in the bucket. You only need to attach the inlet hose to the discharge side of the pump. For the outlet hose, you can simply place it in a bucket since the system you have set up will ensure the cleaner goes through the structure and cleans off any magnesium and calcium.
Step 4: Add a Cleaning Agent
A cleaning agent is a substance or mixture that removes dirt, stains, or other unwanted substances from a surface. Cleaning agents are often classified as either detergents or soaps. Detergents are synthetic, man-made molecules that are designed to clean surfaces. Soaps, on the other hand, are natural products made from fats and oils.
Flushing a tankless water heater involves running a cleaning agent through the unit to remove any build-up of minerals or other debris that can clog the unit and reduce its efficiency. The frequency with which you need to flush your tankless water heater will depend on your water quality, but it is generally recommended that you flush the unit at least once yearly. You may need to flush the unit more often if you have hard water.
Step 5: Open the Valves
You just need to open up the water valves to let water flow through them and start the pump. You need to let everything circulate for at least 45 minutes and up to an hour and a half. The instruction booklet with the cleaning agent will tell you how long you should let things circulate, but plan on at least an hour. If you’re using vinegar, you need to let it run even longer — for at least an hour and a half to 2 hours.
Step 6: Flush Out the Cleaning Agent
After the time has passed, turn off the pump to stop the circulation. Then turn off both valves and disconnect the inlet valve hose. You now want to flush out any remaining cleaning agent or vinegar. To do this, keep the hose connected to the hot water outlet valve and turn on the cold water inlet valve. This will push water up the system and flush out everything through the hose on the hot water side. Let the water flush for 5 to 10 minutes, then turn off the service port and the cold water inlet valve again. Finally, simply remove the remaining hose.
Draining a tankless water heater
Draining a tankless water heater can be difficult, but with the right tools and knowledge, it can be done relatively easily. There are a few things that you need to take into account before you start, such as the size of the water heater and the amount of water that it can hold. Make sure you have the proper gear and know how to use it, and you should be ready to go.
A tankless water heater uses a smaller reservoir than a traditional water heater, so it will need to be drained more often. This means that you need to be extra careful when taking it down, as failure could damage the machine. If you do not properly drain the tankless water heater, it can also overheat and damage the components. Keep these things in mind before you start the job, so you can ensure that it is done correctly.
How to drain a tankless water heater ( Step-by-Side)
To drain a tankless water heater, it is necessary to know how to turn off the water supply. First, turn off the main water valve. Next, turn off the water supply to the water heater by turning the knob to the “Off” position. Finally, turn off the gas line to the water heater by turning the knob to the “Off” position. Further details on draining a tankless water heater will be addressed in this section.
Step 1: Turn off the water heater from the power source
It is essential to disconnect the water heater from the power source, or turn off the dedicated circuit breaker, to avoid electrocution during the draining process. If you use a gas tankless water heater instead, you should shut off the main gas valve before you begin draining.
Step 2: Close and turn off the water valves
It is important to close and put off the water valves connected to your tankless water heater.
- There should be a) a blue cold water valve, b) a red hot water valve, and c) the main valve that runs water into your house.
- This prevents hot water from coming out during the task and prevents cold water from moving into the water heater. If water is allowed into the water heater, it may either damage it or cause your water heater to make excessive noise.
Step 3: Remove the purge port valve caps
You’ll see purge valves on each of the cold and hot water valves. Remove the purge port valve caps. Identify purge valves by their small “T-shaped” handles. This step relieves any pressure inside the valves and prevents burns from hot water spraying out.
CAUTION: Ensure the hot water valve is completely shut off for safety. There is often pressure released when removing purge port valve caps.
Be sure caps and rubber washer sealing discs remain in place. Without these washers, the valves won’t work right.
Step 4: Attach the hosing lines to each other
You must attach the hosing lines to each other. Although the manufacturers of most hosing tankless water heaters make provision for hosing lines, it can be purchased from hardware or home repair stores. If you are buying, ensure that these lines are long enough to connect the water heater to your bucket. The connection is easy and self-explanatory. However, contact your manufacturer for specific instructions on connecting those lines if you find it difficult. Sometimes this step requires the water from the heater to drain using the sump pump. Again, consult your manual if you’re committed to DIY.
Step 5: Twist purge port valves perpendicularly to the position of the hot and cold valves. This opens the purge port valves.
Step 6: After draining, clean with undiluted white vinegar
While cleaning your tankless water heater, it is advisable to clean with a dash of undiluted white vinegar and not chemical cleaners. Chemical cleaners are not advisable because the heater is meant to provide bathing and, occasionally, drinking water. Chemical cleaners, therefore, may be harmful to your health. We recommend using 2.5 gallons of undiluted white vinegar. Cider vinegar is not a good substitute; It will stain the tank. Also, use fresh vinegar. Don’t reuse from a previous flush. This process is effective for draining electric tankless water heater for small houses and other tankless water heaters alike
FAQs
How often should you flush a tankless water heater?
Though there is no set time or rule for how often to flush your tankless water heater, it is important to do so regularly. This will help prolong your heater’s life and keep it running efficiently. Depending on the model of your heater, you may need to flush it as often as once a month or as little as once a year. However, if you live in an area with hard water, it is a good idea to flush your heater more often.
What are the benefits of a tankless water heater?
Tankless water heaters have become increasingly popular as homeowners look for ways to save money and energy. There are several benefits to using a tankless water heater, including 1) You’ll save money on your energy bill. A tankless water heater only heats when you need it, so you’re not paying to keep a tank of hot water heated all day. 2) They’re more space-efficient.
Which is better, an electric or a gas tankless water heater?
A simple description of the working of electric and gas tankless water heaters is that; Gas tanks run on gas. Electric water heaters use electricity. An electric water heater is popular for homeowners because it is convenient and efficient. They also have a smaller carbon footprint than gas tankless water heaters. However, gas tankless water heaters can be more affordable in the long run. Gas tankless water heaters are also more energy efficient than electric water heaters.
How does an electric water heater work?
In order to heat water using an electric water heater, a heating element called an element coil immerses into the water and attaches to the heating grid. This grid is usually made of metal wire. The element coil produces heat when it comes to electricity and the metal prevents the wire from becoming too hot. Now, you know how an electric water heater works.