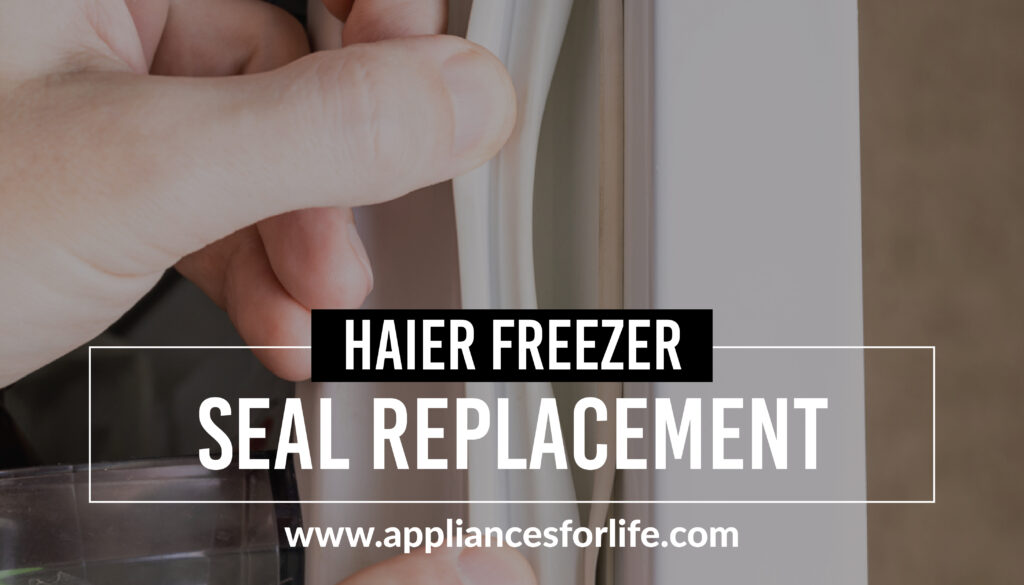
Haier Refrigerator Door Seal
The door seal of a refrigerator is also called a gasket and it does exactly what the name suggests- It seals cold air and moisture within the refrigerator, so that your produce can remain fresh. It is necessary to keep your gasket completely sealed, to keep cold air trapped inside. A malfunctioning seal will not only prevent your refrgerator unit or freezer from maintaining safe temperatures, it will also raise your electricity bill by a ton, as the appliance works a lot harder to stay cold.
It is actually convenient to assume that the gasket is just a fancy contraption attatched to a refrigerator door to make it look good but it is way more than that. It is a strip of rubber that fits tightly into a groove around the door’s edge. Undoubtedly, Haier manufactures top quality appliances, in fact, it is one of the best appliances brand you’ll find out there, however, sometimes, the gasket wiggles loose from the grove and just needs to be pushed back in to prevent refrigerator cold air from escaping but other times, the fault is slightly more serious. It could be ruptured or torn due to necessary wear and tear or it may just be excessively dirty.
Replacing Your Freezer Door Gasket
Replacing your Haier Freezer gasket will cost you close to nothing- (you can get it at top repair companies nearby) compared to the cost you may have bear for your utility bill and for refrigerator re-fill when it is exhausted of gas. The replacement process is also simple and it never takes too much time. This is one of those tasks that many of us don’t think about doing and often assume it requires an expert to do the job. Little did you know, you are the perfect candidate to do the job regardless of skill set, background, or gender.
How do i know my freezer gasket needs replacement.
The door seal or gasket of Haier refrigerator and infact other refrigerators is susceptible to damage, as a result of frequent use but as soon as this fault is noticed, it is important to take steps to replace it because failed door seals can cause more serious refrigerator problems.
All refrigerator door seals are designed to maintain contact around the door frame. Keeping the seals clean and lubricated will ensure that the potential for air leaks are minimized. Failing seals can cause problems on its own or worse, cause a cascading system failures that can cost you hundreds of dollars to fix ghost problems.
When Fridge or Freezer compartment does not cool: When youmr refrigerator compartments are not cooling as it used to, this could be an indication that the door seal or gasket is ruptured or out of place- In this case, hot air is let inside the refrigerator while cold air escapes through the loops created by the faulty gasket. In a different view, a ruptured or misplaced gasket may trick the main control board into thinking that the door is not shut and initiate a “Linear Protection Mode” which will cause your refrigerator to extra hard to keep both fresh food and freezer compartments cold.
When refrigerator runs non-stop: Most Haier refrigerators are not designed to run all night and day long. This implies that when the refrigerator is at a certain temperature, everything stops working for a while- the compressor, condenser fan and evaporator fan all get quiet. This is really necessary because if it does not happen, abnormal wear and tear may result from excessive heat generated by a compressor. So if your refrigerator is running constantly, it may be due to a faulty gasket or door seal. You can check the Haier refrigerator, Model 340 review if you are looking for a decent Haier refrigerator.
Condensation: If warm, moist air is getting into your refrigerator, you may end up with higher than normal humidity inside the refrigerator. that may cause the content of the refrigerator to spoil quicker as well as more work for the condenser and compressor to provide a proper temperature environment. It may also cause excessive frosting on the evaporator which will force your your Haier refrigerator to perform more frequent defrosting cycles (which incidentally will warm up the refrigerator inside).
How To Check Your Refrigerator Door Seal
Visual Inspection: Ordinarily, some level of curiosity should make you want to take a look at your gasket, especially when you see any of the signs mentioned above. Nevertheless, you should take a cursory look at the rubber door seals and its mating surfaces to try to find any form of deformities that may prevent the gasket from making a perfect, air-tight seal. You may find food particles on the mating surfaces, deterring it from locking appropriately but if the gasket is ruptured instead, you may have to get a total replacement.
Touch Inspection: It may be impossible to detects tears and rips by merely looking at the gasket. Sometimes, particles under the gasket are not visible to the eye but when you touch the seal and feel it, you may discover where the problem is. You should also try to identify any rubber sections with dry rot-it’d feel very stiff or brittle.
Paper Test: You can use this test to detect whether or not the door has locked perfectly. To carry out this test,- open the refrigerator door and insert a small sheet of paper or a dollar bill, between the door. Gently pull out the paper or dollar bill, as the case may be. If it pulls out with no minimal level of resistance, this means that your gasket is not sealing tight enough.
Door Hinge Inspection: when a door is opened, there should be a slight resistance. Conversely, when you close the door, the last inch or so should be pulled away from your hand like a magnet pulling away a piece of metal. If the door is very loose, a hinge spring may be failing.
Door Inspection: when closing a door, it is not unusual to see another door a door pop open temporarily due to air pressure passing between air channels. But if a door opens every single time, it may indicate a failing door seal.
A Step-by-Step door seal replacement Procedure
Before we commence this innevitable replacement, we need to understand first of all that the replacement is necessary; No special tools or meters are required to make this simple assessment; all you need is the paper test as discussed above. Furthermore, moisture on the seal and evidence of black mold are other tell-tale signs that it is time to replace the gasket as well. With a significant difference in temperatures inside and out of the unit, a leak will create condensation on the seal. The condensation then enjoys becoming a sort of playground for mold to grow thus the little black speckles that form in and around our leaky seal.
Note that, for your replacement to go smoothly, you need, first and foremost get a new gasket; make sure it is an original replacement and make sure that it fits. Check the specific Haier model that you own and go exactly for that. You will also need a Hex Head Wrench- this should be a 1/4 size hex head. You may also need a screwdriver, depending on the specific Haier refrigerator that you are dealing with. You can also get a rag close, to wipe the dirt under the gasket once and for all.
Now that you have your new gasket, let’s get started with our replacement. I suggest you open up your new gasket and lay it on the floor in a warm area so that it “relaxes”. This will just make for easier installation as it’s likely somewhat misshapen from being in packaging. If need be, you can even use a blow dryer to help relax the material. I don’t think this will be necessary but it is possible. Don’t get it too hot, just warm enough to help it relax.
Step 1: Loosen Gasket Screws
The gasket screws may not be exactly conspicuous so you may have to lift the frontal edge of the gasket at one corner to expose the screws. Bear in mind that you do not need to remove the screws entirely, just slightly loosen it and you should be good.
Loosen the screws working from one corner across and down. As you loosen the screws, you will be able to start pulling the gasket off of the door. Work your way around in this fashion until the gasket is completely off.
Step 2: Loosely Install New Gasket
You can now begin installation of the new gasket but ensure you do it in reverse of how the old one was removed. As you install the new gasket, just slightly tighten down the screws as you go.
Step 3: Test and Adjust as Needed
Now that you have the new gasket properly installed, inspect your work to see its all good sand to make sure that the seal is properly seated, then shut the door to see that it locks completely. After locking, look around the gasket edges for wrinkles- if you got any, this may be because it is not sitting properly. Hence, you may want to do something about that. You can make minor adjustments by pulling the gasket gently one way or the other as needed.
Step 4: Tighten All Screws
Finally, now that your gasket is seated properly and you are happy with your inspection, tighten down the screws one last time to complete the replacement. Be careful not to move the gasket while you are doing this, you don’t want to knock it out of adjustment. Also, do not over tighten the screws. You should just snug them down firmly as opposed to breaking out the drill to really wrench them down.
The Benefits of Installing a New Freezer Gasket
The cost of a Haier refrigerator gasket is not outrageous but when you consider all the cost and effort of installation, you may be forced to wonder what the point is, going through all the ‘pain’. However, mind you, the installation of a new gasket is beneficial in so many ways.
A refrigerator runs in order to maintain the interior temperature of the cabinets. This is also when the refrigerator costs you money, when it’s running. With that in mind, a leak makes it difficult to for the appliance to maintain it’s temperature and therefore it runs more often. Are you feeling better yet? It won’t be too terribly long before that new gasket pays for itself.
That is not the only thing you stand to gain from this, a flunctuating temperature in your refrigerator is not too good for your food, it is important to keep that freezer sealed, if you must keep your food fresh. There should be a consistent temperature at all times.
Last but not least, how about the fact that you just cleaned an area of your fridge that has likely never been touched? If your gasket was bad, it’s likely that this area was quite dirty and even moldy as well. I don’t know about you but I prefer my food to be as far from mold as possible.
Cleaning Your Haier Refrigerator Gasket
If you catch a whiff of acrid and moldy smell emanating from the inside of your refrigerator, it may because your door seal has haboured alot of dirt that needs cleansing. Dirts after a while can grow to become mold under your door seal. The mold on your refrigerator gasket can grow quickly and undetected. Mold will grow under your gasket even if your refrigerator is working. Hence, there is a need to stop it as quickly as possible, before it causes further problems.
Some use bleach to get rid of mold on the door seal but this activity may be detrimental to the seal. For years, government agencies recommended using chlorine bleach to clean mold and mildew, but they have withdrawn that recommendation. Besides being corrosive and damaging to parts of your refrigerator, including the door gasket and plastic shelves, bleach isn’t necessary. It does kill mold, but it doesn’t penetrate porous materials, such as rubber, so mold spores that are buried deep in these materials can grow back.
Therefore, Instead of ruining the gasket by cleaning fridge door seals with bleach, use hydrogen peroxide or vinegar, which are both safer and kill mold. Put full-strength hydrogen peroxide or vinegar in a spray bottle, spray the gasket, then wipe off all the mold with a clean cloth. Use a toothbrush to reach under the gasket and scrub out the mold that’s growing there. Rinse with clean water and leave the door open to let the gasket dry.
FAQs
How Do I prevent Mold in My Door Seal?
It is always advisable to take preventive measures to get rid of mold in your gasket. If you do not do this, your refrigerator may not lock as tight as it should and this may cause further damage to your refrigerator. After After washing down the interior of the refrigerator with soapy water and rinsing, spray the sides with full-strength vinegar to disinfect it. Allow the spray to stay on the surfaces for 10 minutes, then rinse it off with water. Let the refrigerator dry with the door open, then plug it in and close the door.
What is the basic cleaning procedure for my refrigerator door seal?
First, begin with emptying the refrigerator, after emptying it, remove all shelves and wash them separately in soapy water. Note that the Environmental Protection Agency recommends using detergent and water for cleaning mold from hard surfaces. Hence, you can wipe the inside of your refrigerator clean with the same soapy water. If after this you still catch a whiff of that moldy smell. take a look at the ice/water dispenser and clean it too, with the same soapy water solution.